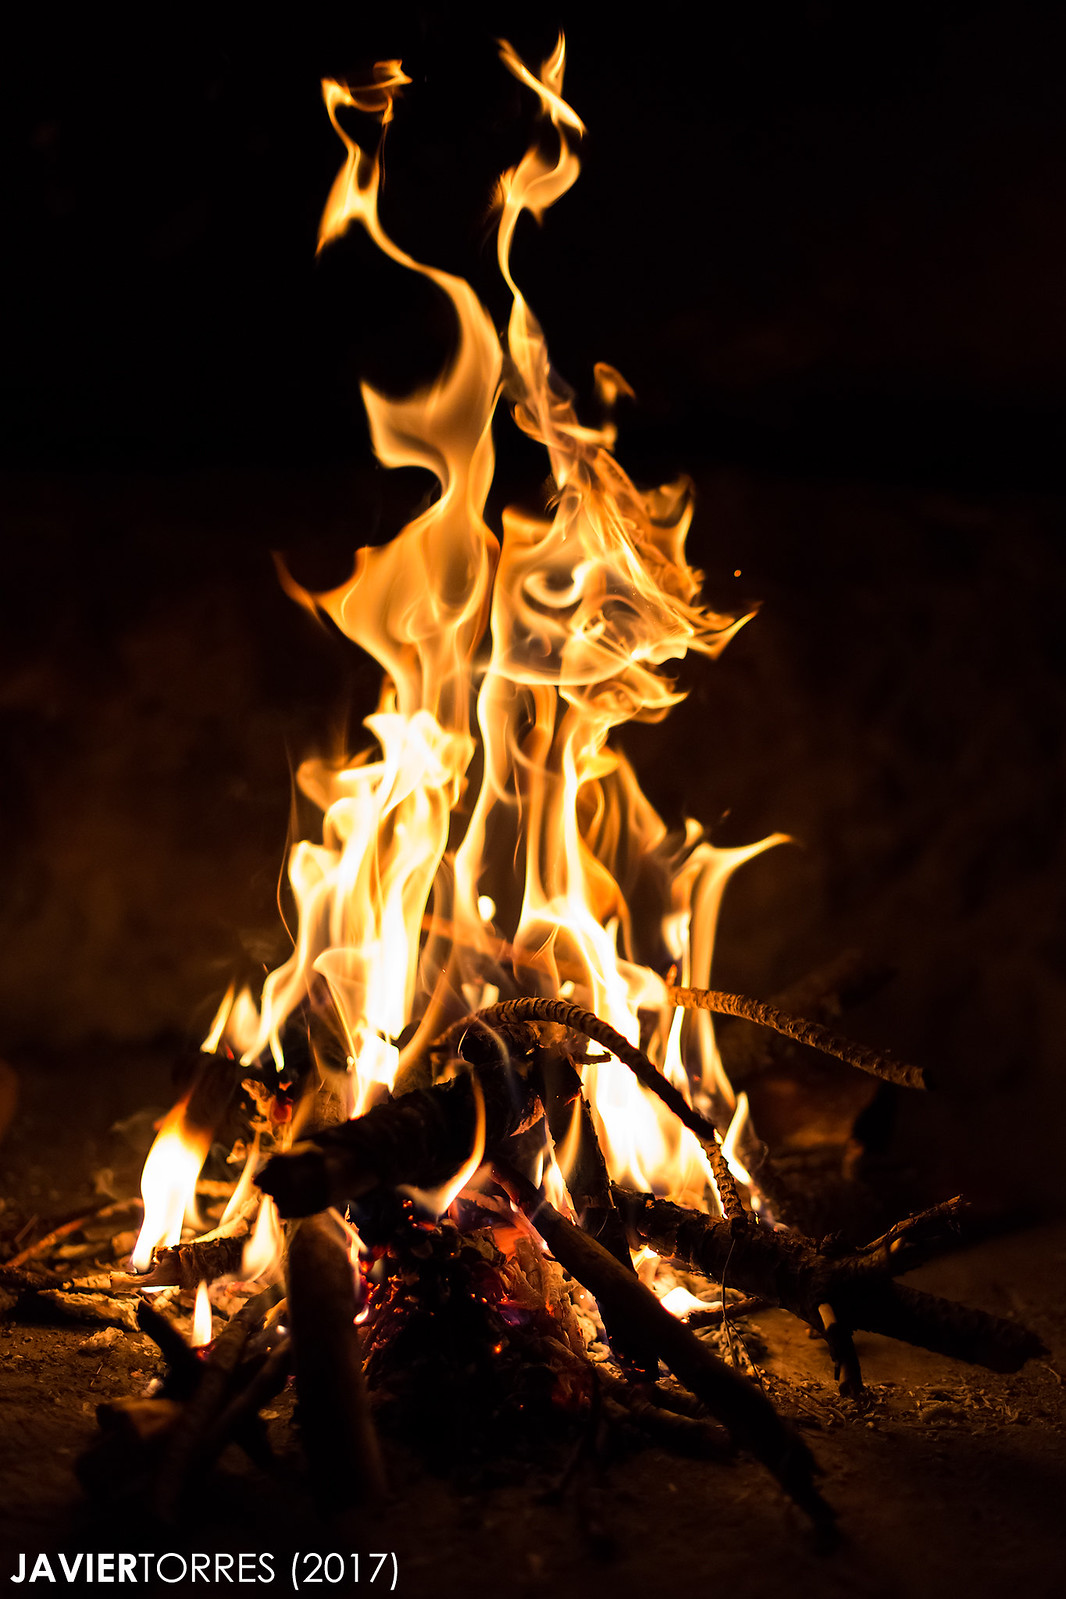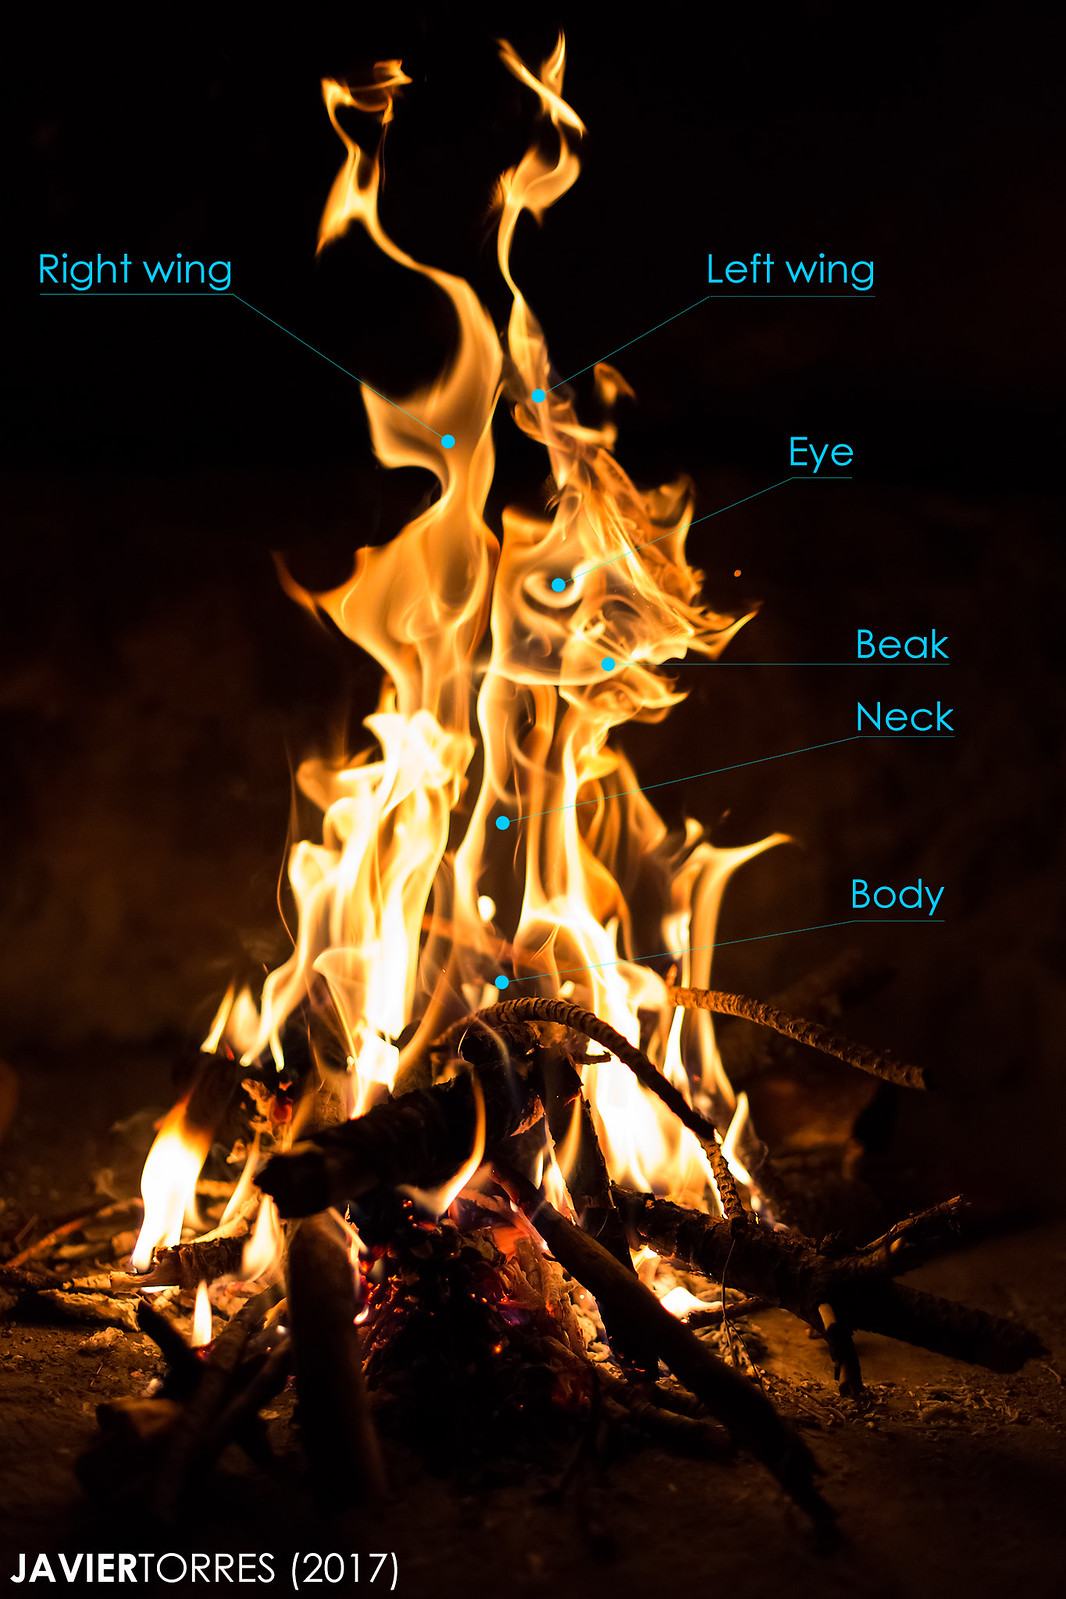
Introduction
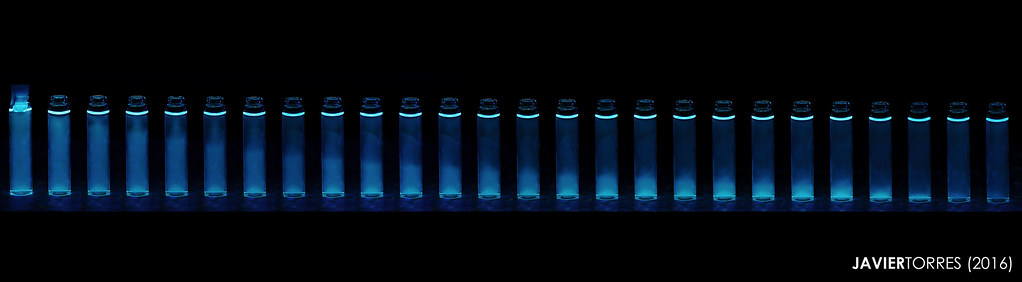
One of the most recurrent jobs I’m asked to do as a scientific photographer is fluorescence photography. This is so because fluorescent compounds are usually very eye catching and offer a good picture to illustrate your work. Even, sometimes, the picture itself might have scientific importance. Sometimes the picture depicts different compounds where you want to show the difference in colors or intensities. Other times there is a change and you want to display it, like in the image above, where the sequence shows how the diffusion of ambient oxygen into the solution makes the luminescence turn noticeably off (which means you can see the “invisible” oxygen flowing and mixing into the liquid – the one on the left is completely oxygen free-).
A few days ago I was asked (one more time) how these pictures are taken. For the professionals on low light photography it’s rather simple, but for many amateurs taking pictures in darkness or using invisible light seems to be a very confusing concept. The target of this post is to give some advice to novel photographers on how this kind of pictures can be successfully taken.
The scary part made… less scary
- This kind of photography takes advantage of fluorescence, which is the ability that some chemical compounds have to transform invisible ultraviolet light (usually UVA, sometimes UVB) into visible light. The net effect is that the compound seems to glow in the dark. The key concept to remember is: because you are capturing the light emitted by the compound, any other visible light existing in the scene will compete with the one you want to photograph and will reduce the contrast and glow effect. For this reason you must take this kind of pictures in absolute (or almost absolute) darkness. Even a slight amount of “parasite” light can decrease the sensation of glowing. Even if you don’t see it with your eyes, the camera is especially sensitive to the parasite light, as it will probably be a long exposure picture.
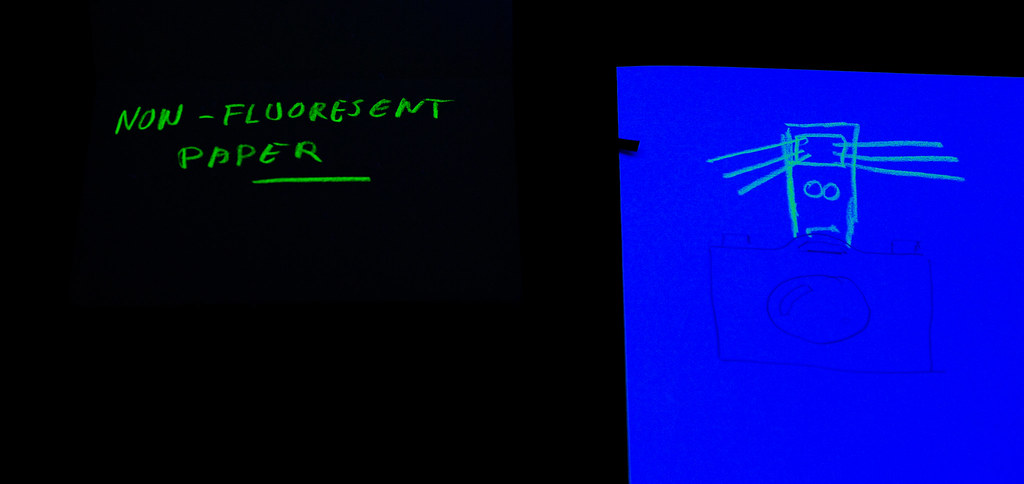
- Remove any other fluorescent object from the scene. If you are trying to take a picture of something that emits light under ultraviolet radiation, any other object emitting light in the same circumstances will interfere with the picture. This might sound obvious, but sometimes it is not. One mistake I’ve seen many amateurs to make is using a white paper as a base, to put the subject above. It might seem to be a good way to get a clean background t turns out that most papers will glow white under ultraviolet light (so they look whiter under sunlight) and will spoil the result. You can use instead recycled non-bleached paper (as long as it doesn’t glow) or, as I usually prefer, a piece of black cloth. Also, wall paint can be luminescent, or some plastics. The best way to test it taking a picture without the subject: the more light you see, the worse the conditions are.
- A tripod is compulsory. I know cameras nowadays perform really well on high ISO, but still the noise level is important if you go past 1600. Taking into account that your subject is not going to move, using a tripod will allow you to use the lowest sensitivity, take multiple pictures with the exact same composition and focusing precisely, which leads to the next point…
- Use live view and manual focus. Manual focus may seem a bit from the past, but is very useful in this kind of photography. Once you achieve the focus point in the exact place you want, manual mode will guarantee that the point will remain in focus for the rest of the session. You can take multiple pictures without touching anything, and you won’t need to worry about focusing. Also, the correct focus point is the same under visible light and ultraviolet light (this doesn’t happen in infrared photography), because you are not capturing the ultraviolet light, but the visible light converted by the compound. This means that you can focus with all the lights on and, afterwards, turn them off and use only the black light, instead of doing all the procedure with the black one. For more information on how to focus with precision you can read the post Sharp focus for the sharp eye.
- Beware the white balance, automatic is not as good as it seems to be. Although the black light is mostly ultraviolet light, it also emits a little amount of violet and blue. This means that the scene will have a blue glow or “haze”. This glow is normal, is part of your light, but the camera doesn’t know that. It believes that this should be neutral grey and will try to compensate, destroying most of the colors. The solution is to accept the blue haze as a part of the picture. I always use automatic white balance (shooting in RAW, of course), so the camera choses the blue/yellow (which is usually wrong) and green/magenta (which is usually correct) balance. Afterwards, when processing the RAW file, I change to “daylight”, and set the green/magenta value to the one calculated by the camera. Finally, if result is not appealing, I slowly modify the blue/yellow balance by hand until it seems natural (which should never destroy the blue part).
- Regarding the lenses, a wide fast lens will allow shorter exposure times. Although you will be using a tripod, and speed is not limiting, the longer the exposure the more likely to hot spots to appear. Long focal lengths are not advisable, they will yield a very shallow depth of field (which will make focusing and getting sharp images difficult) and you will need more physical space to put everything in frame. The higher focal length I have used is 100mm (on full frame), and only because I could use the macro capabilities of the lens. On the opposite side, a very wide lens will create one out of two problems: it will make our subjects very tiny while it fills the frame with “emptiness”, or it will fill the frame with the subject but deforming size and proportions. Although both cases might have artistic purposes, in scientific photography accuracy is often desired. For those reasons my recommendation is to constrain the focal length to 35-70 mm. 50mm 1.4/1.8 lenses are very common and satisfy both requirements with good sharpness.
- Finally, about light placement, I usually place light in front of the subject, above the camera, facing the scene (like a hot shoe flash but without touching the camera). As accuracy is desired, the light source should be parallel to the plane of focusing, otherwise some objects will get more ultraviolet light than others, glowing more (the intensity of glowing directly depends on the amount of light received). Placing the light over the camera usually avoids its appearance on the picture (for example, reflecting in glass). If placed behind the scene it must be carefully placed so it doesn’t appear in the frame (it is not only unsightly, as it emits some visible light it will compete with the main subject). Side locations are not recommended if a faithful approach is desired.
OK… I think it’s cool. How can I do that?
Probably, you won’t be a scientist with access to professional ultraviolet lighting or fluorescent compounds, but that doesn’t mean you won’t be allowed to have some fun with it.
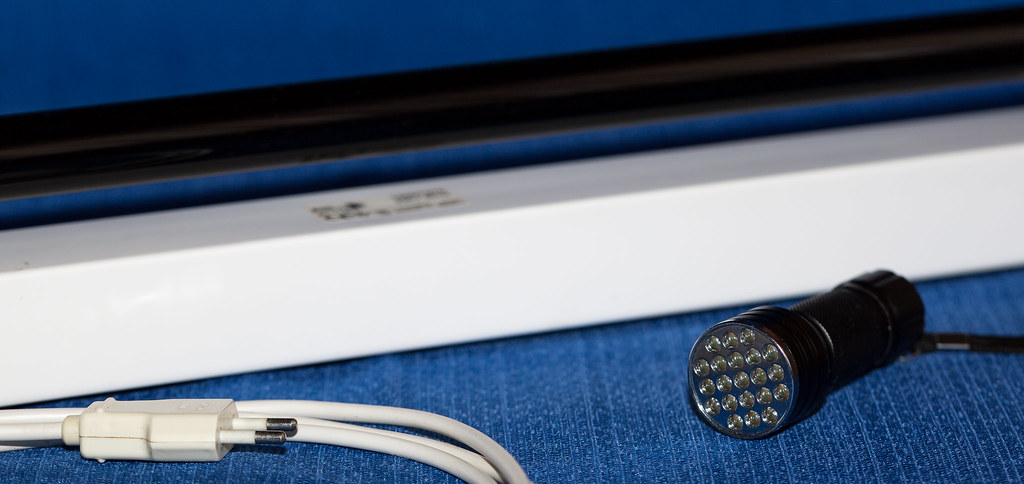
Amateur ultraviolet lights are nowadays very cheap, and can be found in almost all lamp shops or internet. If you think about it, if many pubs and clubs have this kind of illumination, there must be a place where they buy it.
I got my ultraviolet fluorescescent lamp on a local shop (in a small city) for around 20 euros (22.50 USD) a few years ago. It included not only the lamp itself, but also the ballast, starter and 2 meter wire to plug it. Taking into account the amount of light it can provide (similar to a typical fluorescent lamp, but in the ultraviolet range) I think it’s quite cheap. It has been in service sporadically for 14 years, and still working.
On the other side, you can get hand lamps based on ultraviolet LEDs on internet with a very low budget. I fond mine on Amazon for about 7 euros (8 USD). The official price was 20 euros too, but it was in one of those sales that last for many many months. The advantage is portability (it works with AA batteries, not plugged), but it’s much less powerful. Which one best suits you is your choice.
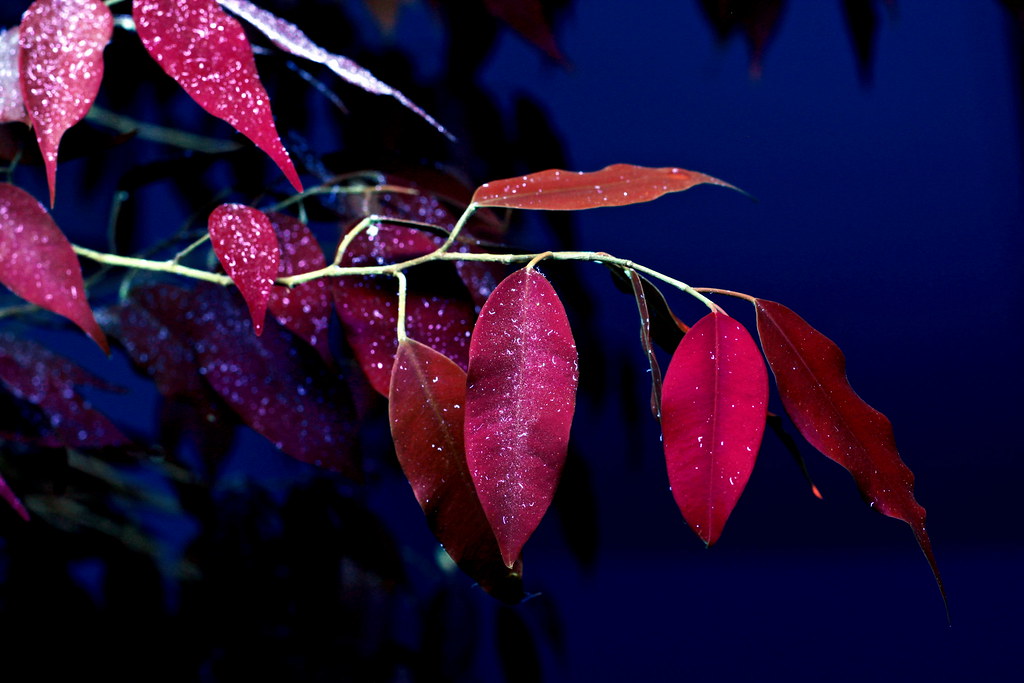
About fluorescent substances, there are many ways to get them. Some are natural. For example, chlorophyll, the green pigment in leaves, fluoresces in red. This means that taking the picture with ultraviolet light will render all the green parts deep red. Also, extracting the pigment is easy, just smashing some leaves in alcohol and filtering the liquid afterwards. This way you can isolate it and use it for any other purpose.
Other source of fluorescent pigments is fluorescent paint. Some of them are used to paint on paper (like pencils or markers). If the paper is not fluorescent (many are), you will see the annotations glow while all the rest is dark. This can yield to interesting pictures, for example, a composition of a book with fluorescent annotations. Other paints are made to be used in the skin (e.g. make up). This way you can paint a model and get nice pictures where only a few parts or patterns are seen. As an example you can see the work of John Poppleton.
In general, if you see something that reacts to this kind of light there is a chance of using it for fluorescent photography. Sometimes you can use the item itself as an element in a more complex composition, and sometimes isolated and used in a completely different way. As in many other aspects of art the limit is your imagination.
For another example of this kind of photography you can read my other post The fluor rainbow.